
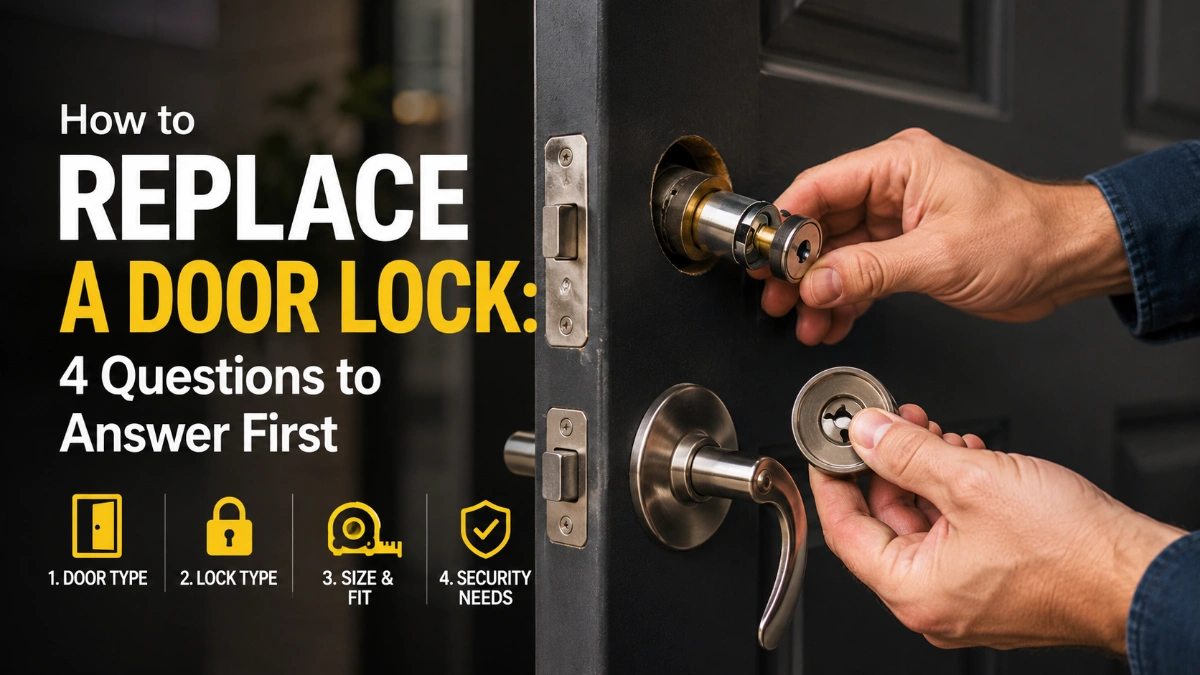
Most questions about how to replace a door lock come down to four things: what type of lock you have, whether it will physically fit the existing holes, how the removal and installation sequence actually works, and what to do if it doesn’t latch afterward. Answering those in order turns a task that feels intimidating into a 20-to-40-minute job with just a screwdriver.
What Type of Lock Am I Actually Replacing?
Doorknobs and lever handles mount the same way, through a round bore hole and a spindle, differing only in handle shape rather than installation method. Deadbolts use that same bore-hole approach but add a tailpiece connecting to an interior thumb-turn — a part that simply doesn’t exist on a knob or lever.
Mortise locks are the exception worth flagging early: instead of a round bore hole, the entire lock body sits in a rectangular pocket cut into the door’s edge, which is why they’re more common on older or premium doors and take noticeably longer to swap.
Will the New Lock Fit Without Drilling?
This depends on two measurements matching between the old and new hardware: backset and bore diameter. Most U.S. residential doors use a 2-3/8 inch or 2-3/4 inch backset, and most current locksets ship with an adjustable latch built to fit both, which is why fit problems are less common than they used to be with older fixed-backset hardware.
Bore holes typically measure around 2-1/8 inches for standard knobs and deadbolts. Measure the existing backset and bore diameter before buying — if the new lock’s specs don’t align with either number, a hole saw and door-prep kit become part of the job instead of a straightforward swap.
What’s the Actual Removal and installation process?
Removing the old lock:
- Remove the two interior screws on the knob, lever, or deadbolt plate.
- Pull the interior and exterior halves apart, releasing a small tab or clip on older units if present.
- Unscrew the latch or bolt’s faceplate on the door edge and slide it out.
- Remove the strike plate from the frame if it’s being replaced.
Mortise locks skip this sequence entirely — the interior and exterior trim plates come off first, and the whole lock body then slides out of its door-edge pocket as one piece.
Installing the new lock:
Slide the new latch or bolt into the bore hole, secure its faceplate with the beveled edge facing the direction the door closes, then connect the two halves through the spindle or screws and tighten evenly. Deadbolts need one extra move here — aligning the tailpiece with the interior thumb-turn — since this is the step most likely to cause a bolt that won’t fully retract if it’s off.
Working through how to replace a door lock this way, in a fixed removal-then-install order, keeps the process manageable even for a first attempt, regardless of which of the four lock types is involved.
Why Won’t It Latch Properly Now?
Strike plate misalignment is the answer in nearly every case where a freshly installed lock doesn’t close smoothly. The fix is usually a small shift of the plate or, if the bolt doesn’t reach far enough, deepening the mortise pocket behind it slightly with a chisel.
| Symptom | Likely Cause | Fix |
| Door won’t latch | Strike plate misaligned | Loosen screws, shift plate slightly, retest |
| Deadbolt feels stiff or won’t retract | Tailpiece misaligned with thumb-turn | Reopen interior plate, reseat tailpiece |
| Bolt doesn’t reach the frame fully | Strike plate mortise too shallow | Deepen mortise slightly with a chisel |
| Screws won’t tighten (stripped) | Worn or oversized screw holes | Use longer screws, or fill and redrill pilot holes |
Should I Rekey Instead of Replacing?
If the existing lock still operates smoothly and only the keys need to change, rekeying the internal pins is faster and cheaper than a full swap. Standard pin-tumbler cylinders generally need a locksmith or a dedicated rekey kit, while some newer designs, like SmartKey-style mechanisms, allow tool-free rekeying by the owner.
That said, knowing how to replace a door lock still matters even if rekeying covers the immediate need, since a worn spring, cracked cylinder, or bent tailpiece can’t be fixed through rekeying alone.
When Does This Stop Being a DIY Job?
Stripped screws that won’t back out, a lock body frozen by corrosion, or commercial security-rated hardware all raise the risk of damaging the door if DIY work continues past that point. Fire-rated doors in multi-unit buildings warrant the same caution, since approved hardware code requirements often apply there.
Smart locks fall outside this guide’s scope entirely — their battery compartments, app-pairing electronics, and sometimes hub or doorbell wiring mean manufacturer instructions should take priority over general mechanical-lock steps.
Quick Reference: Complexity by Lock Type
| Lock Type | Installation Complexity | Distinguishing Step |
| Doorknob | Low | Spindle alignment through the bore hole |
| Lever handle | Low | Same as knob; heavier mechanism, even screw torque matters |
| Deadbolt | Medium | Tailpiece-to-thumb-turn alignment |
| Mortise lock | High | Entire lock body removed/installed as one unit from a door-edge pocket |
Frequently Asked Questions
Most single-lock jobs — knob, lever, or deadbolt — take 20 to 40 minutes once the backset and bore diameter are confirmed to match, with no drilling required.
Only if the new lock’s backset or bore diameter doesn’t match the existing setup; most current locksets include adjustable latches to prevent this.
Yes — they’re independent mechanisms with separate boreholes, so replacing one doesn’t affect the other.
Rekeying changes the internal pins so old keys stop working; replacing swaps the entire lock body, which is necessary when the mechanism itself is damaged.
Almost always a strike plate alignment issue — even a small gap between the plate and the latch or bolt can prevent smooth closing.
Yes — it’s the most involved of the four types here, since the lock body comes out of a door-edge pocket rather than a bore hole.
A screwdriver covers most installs; a chisel is only needed for strike plate adjustments, and a hole saw is only needed if bore sizes don’t match.
No — smart locks require manufacturer-specific instructions because of their electronic components, which fall outside standard mechanical lock replacement.