
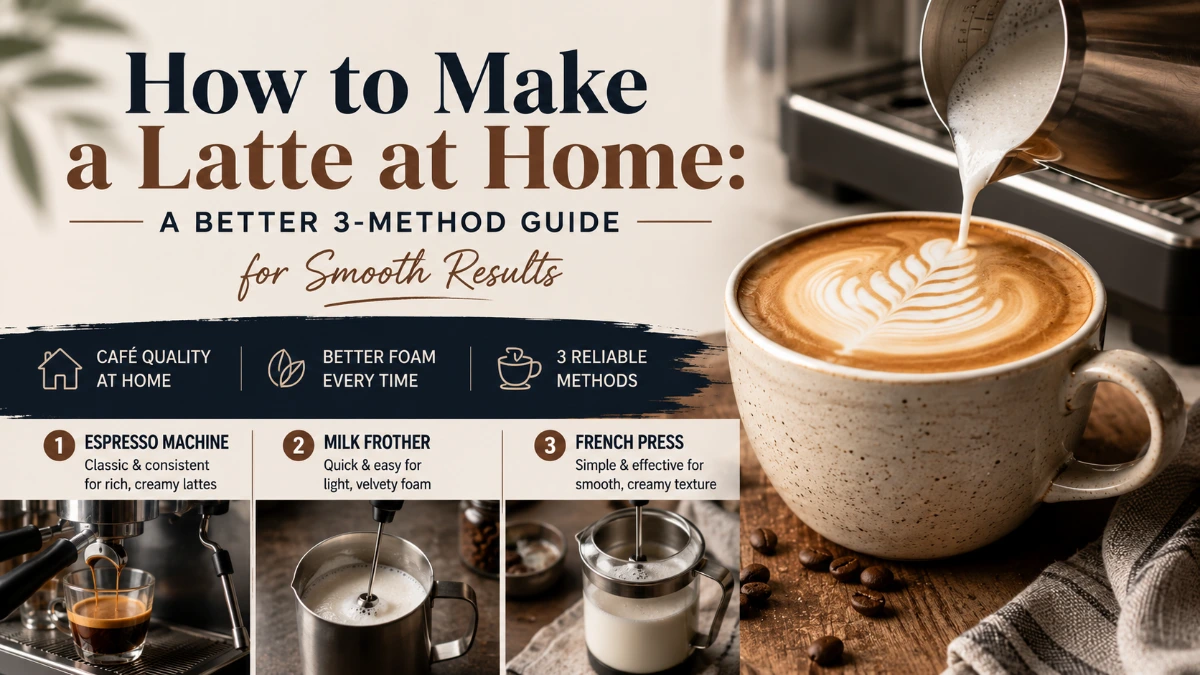
A good home latte comes down to two elements: concentrated coffee and hot, finely textured milk. Use espresso when possible; if not, use a moka pot or other strong coffee, then choose the milk method that suits the tools in your kitchen.
Start With the Right Path
Before measuring anything, decide how you will texture the milk.
| Equipment available | Best approach | Result |
| Espresso machine with steam wand | Steam and pour | Smoothest, most integrated microfoam |
| French press or handheld frother | Heat, froth, then pour | Creamy foam with less precision |
| Jar and saucepan/microwave | Shake cold milk, then heat it | Simple foam, with a lighter texture |
How to make a latte at home is easier when the method follows your equipment rather than asking you to buy a machine. The coffee may differ from espresso, but the same goal applies: preserve enough concentration that milk does not overwhelm it.
Build a Balanced Base
A café latte can vary by cup size and house recipe, so there is no single universal coffee-to-milk ratio. For a practical starting point, make 60 ml of espresso—or similarly concentrated coffee—and add 150–200 ml of milk.
Use less milk if the coffee is from a moka pot, Aeropress concentrate, or another method that is less intense than espresso. You can add milk after tasting, but it is difficult to correct a drink that has already become watery.
For how to make a latte at home, this is a useful adjustment guide:
- Stronger cup: 60 ml coffee + 120–150 ml milk
- Everyday mug: 60 ml coffee + 150–200 ml milk
- Extra-mild cup: Keep the coffee amount unchanged and add milk slowly beyond 200 ml
Steam-Wand Method
This is the closest home approach to the texture served in specialist coffee shops.
- Prepare a double espresso in a warmed cup.
- Fill a cold metal pitcher with fresh cold milk, leaving room for the milk to expand.
- Purge the wand briefly, then position its tip just below the milk surface and slightly off-centre.
- Add air for only the first few seconds. You should hear a soft hiss rather than loud splashing.
- Submerge the tip slightly deeper while keeping the milk moving in a whirlpool.
- Stop around 60–65°C (140–150°F) for dairy milk. Specialist coffee guidance commonly uses a 55–65°C range and advises avoiding temperatures above 70°C, where milk flavour and texture can deteriorate
- Wipe and purge the steam wand.
- Tap the pitcher lightly to collapse any large bubbles, then swirl until the milk is glossy.
- Pour the milk straight into the espresso while it is still integrated.
The important distinction in how to make a latte at home is between adding air and mixing air. The brief initial “stretch” creates foam; the whirlpool phase turns it into a smooth, pourable texture.
French Press or Hand-Frother Method
A French press is a useful option if you want better foam without a steam wand. A handheld frother is faster but may create larger bubbles, so it benefits from a brief swirl before pouring.
- Make 60 ml of espresso, moka-pot coffee, or another concentrated coffee.
- Heat 150 ml of milk in a small saucepan or microwave-safe jug until hot but not boiling.
- Pour the milk into a French press, leaving enough headroom for expansion.
- Pump the plunger up and down for 15–25 seconds, keeping the plunger screen below the surface so milk does not splash.
- Rest the milk briefly, then swirl the vessel to blend the foam and liquid milk.
- Pour into the coffee; add only a small spoonful of foam if a thicker top is wanted.
For how to make a latte at home without an espresso machine, the French press offers more control than a sealed jar because you can see the foam develop and stop when it becomes too airy.
Jar Method: Cold First, Then Heat
Use this method only when you have no frother or French press. Do not shake a sealed container of hot milk.
- Pour cold milk into a clean, heat-safe jar, filling it no more than halfway.
- Fit the lid securely and shake for 30–60 seconds until the milk increases in volume.
- Remove the lid completely.
- Warm the milk in a saucepan, or transfer it to a microwave-safe jug and heat in short intervals.
- Stir between microwave intervals so it warms more evenly.
- Pour the milk into the coffee and spoon the foam over the surface.
The safety rule for how to make a latte at home is simple: never microwave or otherwise heat a sealed jar. Heated liquid and trapped steam can cause burns if pressure builds.
Temperature and Texture
Start with cold milk. This gives you more working time while you add air and build a smooth texture.
| Milk type | Practical target | Watch for |
| Dairy milk | About 60–65°C / 140–150°F | A cooked taste or loss of texture if overheated |
| Plant milk | Often lower; check the carton and begin cautiously | Separation or curdling if the product is overheated |
Breville’s latte guidance recommends around 60–65°C (140–150°F) for dairy milk, while suggesting that non-dairy milk stay at or below roughly 55°C (130°F) because it may separate at higher temperatures. Results vary by plant-milk product, so treat that lower target as a starting point rather than an unbreakable rule
Fix the Result You Have
| If your latte is… | Likely issue | Change for the next attempt |
| Full of big bubbles | Too much air entered the milk | Shorten the aeration phase, then create a whirlpool |
| Tasting weak | Milk outweighed the coffee | Reduce milk or make a more concentrated coffee base |
| Tasting scorched | Milk was too hot | Use a thermometer and stop at the target range |
| Showing foam only on top | Foam and milk were not blended | Tap, swirl, and pour immediately |
| Not foaming at all | Insufficient aeration or a poor tool fit | Start colder and use a French press or frother |
| Separating with plant milk | Heat or the product itself is unsuitable | Lower the temperature and test a barista-style alternative |
Pour for Better Integration
A latte does not need decorative art to taste polished. Tilt the cup slightly, begin pouring from a little above the surface, and let the milk blend into the coffee. When the cup is roughly half full, move closer to the surface and increase the flow gently.
For how to make a latte at home, pour immediately after swirling. Milk starts separating into foam and liquid as it sits, which makes the drink less smooth.
Know the Drink Style
| Drink | Milk volume | Foam | Overall taste |
| Latte | Higher | Thin, fine layer | Creamy and milder |
| Cappuccino | Lower | More airy foam | Stronger and lighter |
| Flat white | Usually lower than a latte | Very thin, velvety microfoam | More coffee-forward |
These are broad café-style distinctions, not universal recipe standards. Cup size and local coffee traditions can change the final proportions.
Make the Next Cup Better
Use the same coffee base for several attempts, then change only one variable: milk quantity, temperature, or foam technique. That approach turns how to make a latte at home from a one-off recipe into a repeatable skill.
A quick final check:
- Coffee is concentrated enough to remain noticeable after milk is added
- Milk is hot, not boiling
- Foam looks glossy and fine rather than dry and stiff
- Milk is poured shortly after frothing
Frequently Asked Questions
Yes, but make it stronger than you would drink black. A moka pot or concentrated Aeropress brew gives a more convincing latte-style result than standard filter coffee.
No. A latte generally has mostly hot milk with a thin layer of fine foam. A cappuccino is a drink with a more visibly foamy texture.
Milk may have been overheated. Keep dairy milk around 60–65°C (140–150°F) and avoid heating it above about 70°C (158°F
Yes. Start with cold oat milk and use gentle heat. If it separates, reduce the temperature and try a product designed for steaming.
No, but it makes the technique much easier to repeat. A thermometer is especially useful while learning or when using different types of milk.
Use a double espresso or reduce the amount of milk. If using non-espresso coffee, brew it more concentrated before adding milk.
Add it to the espresso or coffee before the milk. This helps it dissolve evenly and lets you taste the sweetness before adding more.
It is best used immediately. Once it sits, the foam and liquid separate; refrigerated leftover milk can be used later, but it will need to be heated and frothed again.